Tag: nails

Valentine’s Day Nail Art: Roses + Pearls

ValentineNails2015

Hey guys!

Today’s nail art is just a quick mani for Valentine’s Day.

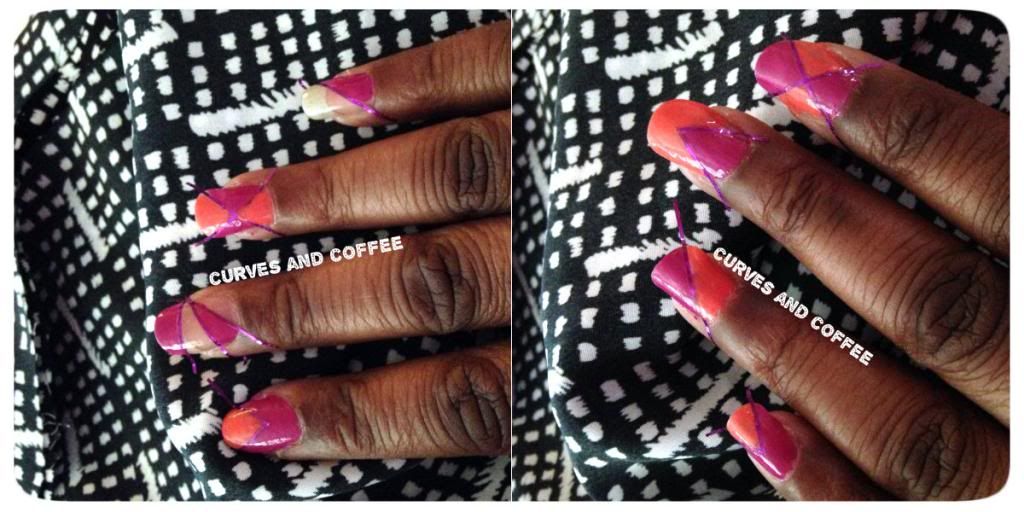
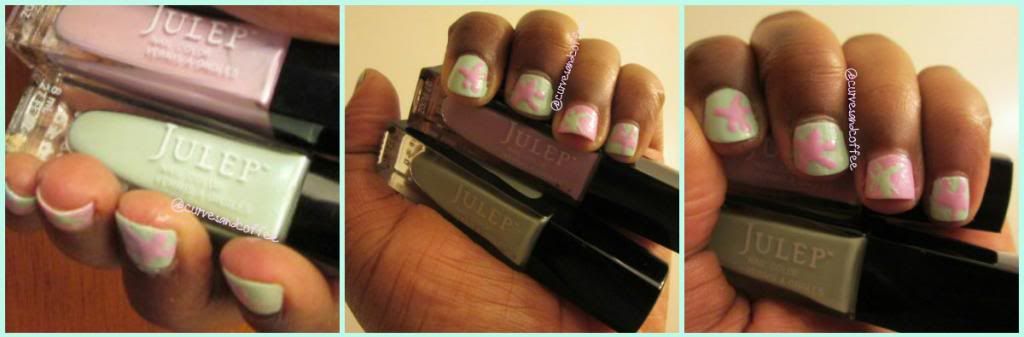
I used water slide decals for the first time which is how the roses and garden background came out so well. Can’t even imagine being able to paint those flowers! Eeek! Props to all those talented nail girls and women out there.

The deets…

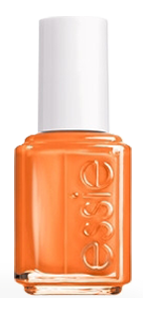
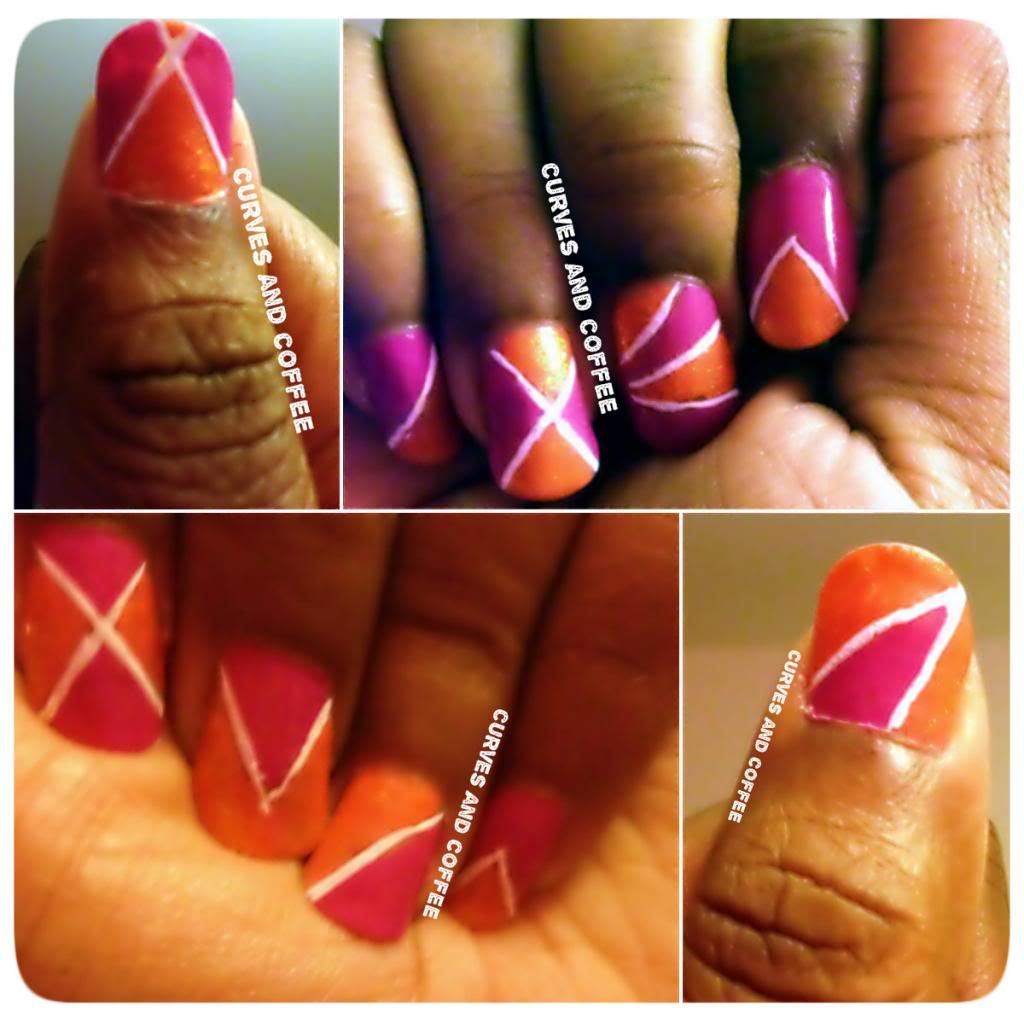
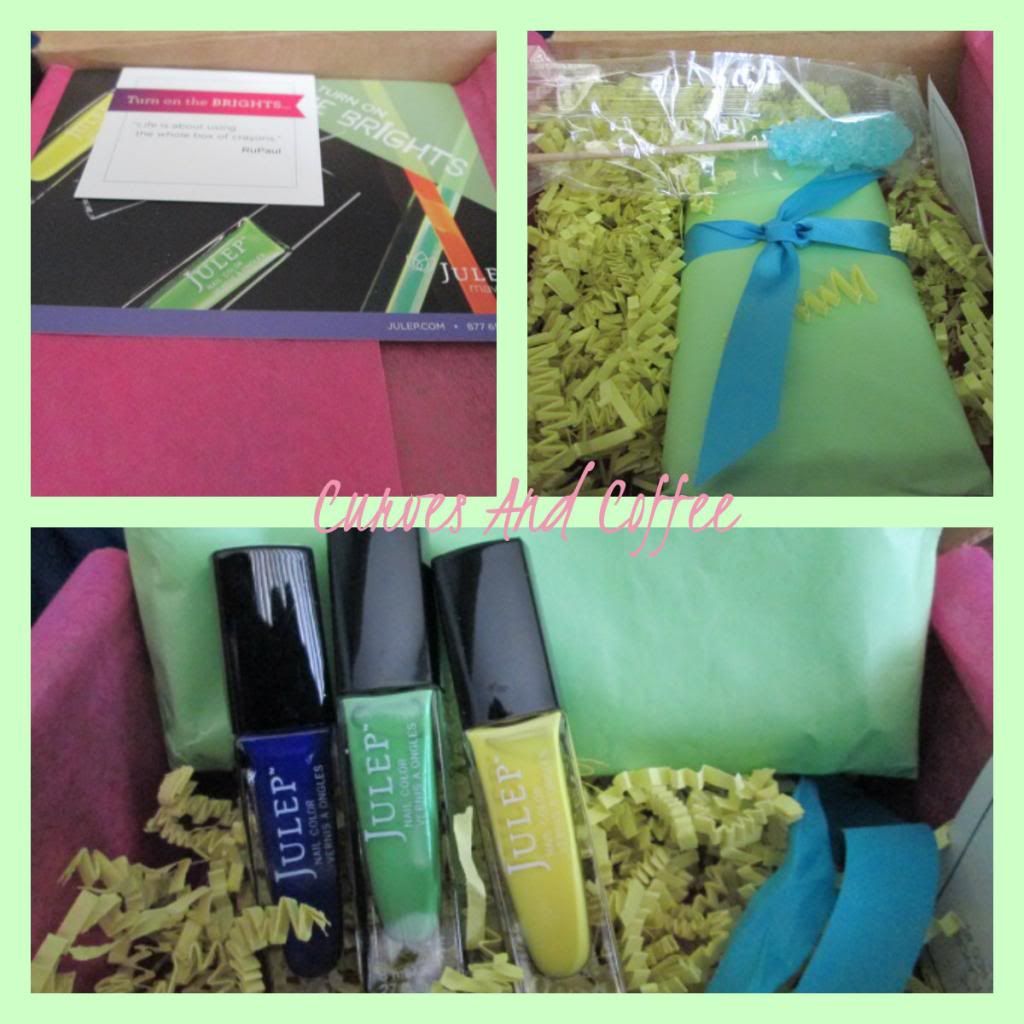
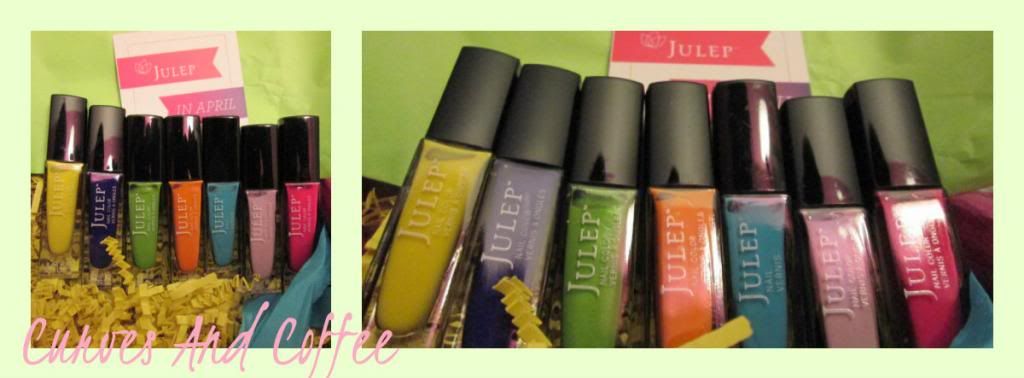
Colors: Julep- Anisa (deep red) + Natalie (blush) both of which are still available via Julep.com simply search the names and voilà!

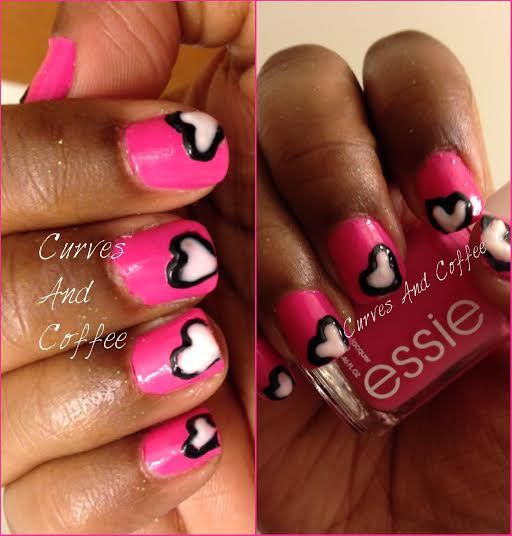
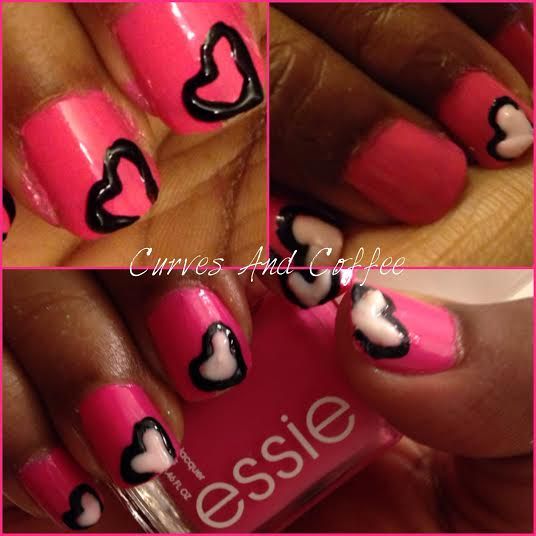
I used Essie “Black Licorice” for the accent nails and pearl nail beads which I shaped into small hearts on black for a change of pace and pop of opposite color. Not that my heart is completely black 😉

Have a looksie at this Valentine’s Day nail art…

ValetineNails2015


vdaynail2015


vdaynail2015collage


vdaynails2015


Think I’m getting better at taking pics (YAY!)

Actually, this mani was a practice run with water decals but since I like it so much (flaws and all) I decided to share! Since this was such a quick mani, I wasn’t able to do a DIY tutorial this time around. Don’t worry though, if you guys want, I’ll be sure to post a tutorial post with all the details. Let me know in the comment section below or share a tweet or Facebook comment.

Hope you like!

Mod Mani: Super Easy DIY Nail Art


If you follow Curves And Coffee (me) on Instagram, you’ve already had a sneak peek at what’s in store! If you’re not following me… *In my most Jay-Z & Linkin Park voice* what the hell are you waiting for?!


Taking a trip down memory lane with this weeks mani and nail art.


It’s not totally mod but it definitely has a mod-style feel to it. We’ll just call it “Orange Crushin’ on Summer” Of course I wouldn’t leave you guys without a tutorial! It’s super easy, seriously, suuuuper easy!


What you’ll need: 

scissors, nail polish, tape, nail file.


What I used:


Essie ~ All In One Color Adhesive + Primer ~ $10

Nars ~ Adelita ~ $19

Nars Thakoon ~ Ratin Jot ~ $19

Kiss ~ Paint Set in Gala ~ $6.99

As I was midway through this mani…the Nars ‘Adelita’ polish would take several coats to really POP so I used Essie ~ Fear or Desire ($8.50 seen below) then used the Nars over that for a sparkle POP!


Of course you can use any color(s) or polish you want. I have hundreds of polish bottles and simply riffled through them and picked these colors.


How to do it:


Start with a base coat…ALWAYS start with a base coat when using deeply pigmented polish or else you’ll be left with color stained nails once you remove the polish. I have to admit, sometimes when I’m in a rush and just need a quick coat of color…I skip the base coat.


Once your base coat is dry, it’s time to add striping tape. Don’t be alarmed, striping tape is easy to locate and it’s cheap! I usually purchase mine from eBay or Etsy for less than a dollar or two (if you’re hunting the deals…pennies). You can also find it at your local beauty supply stores or Sally Beauty. It’s rare that I use this tape so a roll will last me more than a year in some cases.


Cut the tape into strips and place them on the edge of the table you’re working on. My chosen work space: my laptop! This makes it easier when it’s time to grab and place. Put the strips where you DON’T WANT polish (sticky side down of course). This is where you get creative! I placed tape in a different position on each nail for a ton of variety…there’s no right or wrong way.


Next step: color time!


Once you’ve applied the color polish of your choice and after the nails have dried a bit, 30-40 minutes for me…you can remove the tape. When you remove the strips, you’ll have open space or empty lines.


This is what happens when you’re in the bed and using your laptop as a table…yes, that’s my beagle Chipper Jones using my “table” as a pillow. Multi-use household here folks!

Anywho…

This is when your third polish choice comes in. I used a pure white color that I got from a Kiss set, you may remember it from this…it lets you paint lines with a long brush (circled in the pic above) basically, a no mess application! No need for extra brushes or dipping or bowls! Use the long brush to fill in those empty spaces that were left after the tape was removed.

The final step: Add a top coat and we’re done!


Finished product:

See! Super super easy!! The final pics didn’t quite come out like I wanted but after taking what seems like a zillion in different light settings…these were the best! Each nail has a different design so this is truly a one-of-a-kind mani! I’m already thinking of a super bright idea using this same technique soon as I locate the 2014 neons!

I’m not a pro…just a curvy girl who likes to have fun with her nails and look pretty!


Queen of Hearts: Cute Valentine’s Day Nail Art

The day for lovers is right around the corner so naturally I have the perfect mani and nail art to show off! By perfect, I totally mean, perfect for the day.

In case you weren’t aware, my favorite color is pink, a particular shade of pink. It can’t be too light and it can’t be too bright…sort of right in the middle. All shades of pink are great but there’s only ONE that gets all of my love! That can become fairly tedious when it comes to finding the perfect shade for my nails and toesies. Whenever I do come across that absolutely amazing pink, I tend to buy a lot of stock!

For this nail art, none other than Essie’s “Mod Squad” would do the trick!

(The specks are actually glitter from a sparkling hand lotion…not too sure why it shows up on camera like I rolled in lint…sorry. Also, after seeing the zoom version….I missed several clean up spots lol ok I’m done critiquing. It’s the perfectionist/OCD in me.)

This cute Valentine’s Day nail art design was super quick and very easy!

Base coat.

Outline hearts.

Fill hearts.

Top coat.

Clean up.

See! Simple!

Give it a try and be sure to send me a pic!

Spooky DIY Halloween Nail Art

Hey there stylish sweets!

First, let me apologize for this post being a day late. I realized I hit “save” instead of publish as I was getting my flu shot Monday. If you’ve ever had one, you also know that once it kicks in, you’re pretty much useless later in the day. I’m here and it’s here now so let’s do it!

Welcome to the end of October, yes the END OF OCTOBER!
I know it’s been a week since you’ve seen me, just had a teeny tiny bit of stress. The previous two weeks were extremely busy on the “life” side of things and all I wanted to do was sleep, eat, and watch tv! Well, that’s what I did! Now I’m back full of energy, rested, and ready to get this show on the road.
First up for this week… MANI MONDAY…uh Tuesday! There’s no better holiday than Halloween to do a crazy over-the-top manicure…the creative possibilities are truly endless! Last year, I did a little bloody nailart that got rave reviews. This year, I wanted to do something way more elaborate…take a look!
Everything was done free-hand and I was a nervous wreck! Seriously, if there was an oops, I’d have to start all over again and you guys know that wasn’t happening LOL!
On the left hand:
Thumb ~ scary jack-o-lantern
Index ~ spider web
Middle ~ scared ghost
Ring ~ bloody mess
Pinky ~ EEK!
On the right hand:
Thumb ~ scary jack-o-lantern
Index ~ spider web
Middle ~ scared ghost
Ring ~ bloody mess
Pinky ~ BOO!
All nails have some sort of “glow in the dark” pattern which is sooo cute! Since I couldn’t figure out how to get the “glow” element to show up last week…..I did a little research. The answer is black light. Who has a random black light laying around? Lol not me. So I’m gonna go out and get one some time this week and hopefully it works! Til then…
Halloween Nail Art 2013 is in the books!

PINKTOBER: Pink for Pink Lovers and National Breast Cancer Awareness Month Nail Art

It’s no secret that I love the color pink.
So displaying the color in honor of Breast Cancer Awareness Month during October…I jumped on it!
This weeks mani and nail art is all in the name of Pinktober!
Essie ~ No Chips Ahead (clear)
Essie ~ Mademoiselle (light light pink)
Julep ~ Natalie (bright pink)
To get the solid color pink, I mixed the two pinks plus white polish until I had the desired shade. Any white will do, I used a cheap Wet-n-Wild .99 white polish. The glitter mix was purchased from eBay awhile back and fairly cheap. Definitely less messy than mixing up a batch yourself. It’s more convenient for me to buy pre-made mixes since I don’t use them that often.
So that’s it!
Happy Pinktober!

Mani Monday

Welcome to Monday stylish sweets! Hope everyone had a lovely weekend.


 If you already LIKE my Facebook page then you already got a “sneak preview” of the things inside my Influenster Spring Vox Box! One of the cool products were imPRESS Press-on Manicure by Broadway Nails. This post is in review for the free testing goodies from Influenster!


Check them out in action below…


They actually turned out pretty CUTE! I added a touch of glitter for my accent nail but they’re cute without the extra touch! Who knew press on nails could be this cool. Surprisingly, they lasted more than two days too! Leery is the word that comes to mind when I think of press on nails. With doing so much stuff with my hands everyday like tweeting, I didn’t think they’d last but they did!

Peel and stick. Peel and stick. Peel and stick.

That’s all I had to plus I pressed each nail down firmly and rub the nail to warm up the adhesive (because stuff sticks better when it’s warm…this is science) The color is “Tweetheart” which is absolutely fitting, looks purple-y pink-ish…I love bright colors so the color was a bit off to me. Besides that, everything else was great! They lasted me about 3 days before I started seeing the thumb nail rise up near the cuticle. I didn’t feel like removing them right that instant so I did it the next day. The directions inform you to peel the nail right off or you can add polish remover around the edges. I started with peeling which was pretty easy then after two nails I decided to use remover with a Q-tip to the edges. That technique made it even easier!

Final thoughts, definitely a do! They’ll work great for a weekend vacation, special event or a night out!

Bring on the Bright lights! Mani Monday


Guess what’s here!!


I actually went to my PO Box and picked up my goodies promptly this month…too excited! This also meant life wasn’t bogging me down so it was fairly easy to take a little break. Anywho, April is all about BRIGHTS! Naturally, that meant “no skipping” this month. My Maven profile is “Bombshell” but I switched to get “It Girl” for the extra bright colors below!


Then, I used my “Jules” (Julep Maven reward points) to get several great add-ons for FREE! Picked a 3-pack of nail colors and the Mighty Cuticle brush thingy!


Oh, I also had a 50% off coupon code that allowed me to get this beautiful polish! I simply signed up to receive SMS alerts from Julep and voila!

My Julep Maven April Haul:

(from left to right)

Abbie, Eden, Mackenzie, Nina, Claire, Simone, Niecy


Needless to say, April is already looking bright! 😉


Pretty In Pastel Pink

Pink is undoubtedly my absolute favorite color.

There really isn’t anything you can do to persuade me to choose any other color. Many have tried and oh so many have failed…not really but you get my point, Rena loves pink! So of course when I FINALLY received my March box from Julep Maven, I couldn’t wait to whip out one of pink shades and play around.


What you see is “Minnie” a light pastel pink with a little iridescence.

This months box included:

(which I paid extra to get the entire box + $30 from the usual $19/month = $49)

8 Pastel 4-Free Nail Polishes

1 Strawberry Mint Lip Balm

1 Rock Star Hand Cream

1 Glycolic Hand Scrub

I liked this pink iridescent pastel color so much, I decided it would be my mani for the week!

Loving it!

If you would like to become a Julep Maven like ME….simply use my referral link: http://www.julep.com/rewardsref/index/refer/id/61610/

How would you like to WIN your very own March Maven Box….

L I K E

Facebook.com/CurvesAndCoffee

Stay Tuned!

Going Green


I went green!

Not the environmentally safe term “green” but the color green! (Although…going green for the environment is EXTREMELY important)

At midnight, I decided to do my nails. Yes, I know…silly silly girl you’re going to fall asleep with wet nails! Nonetheless, I painted and striped my way through the night.

 Totally in the spirit of the Irish, I grabbed three different greens!

Woke up to these little cuties! It was like the polish fairy said “she’s sleeping so peacefully, let’s only mess up this mani a little tiny bit.”

Well thank you!

Not my best work at midnight but it’s not too shabby either!

stripenails